Sunday, 14 October 2012

Pumpkin Gnocchi with rosemary and cobnuts


So it's autumn, and the markets are bulging.  There have been comments in the media repeatedly recently about how the awful summer has made for bad harvests and so on, and I'm sure that's right - I saw it in the fields in Cornwall in the summer - but it hasn't shown up at our farmers' market yet.  Even so, I'm doing a bit of trying to eat less meat and make more of the vegetables and generally reduce our impact a bit, as well as minimising the hit to wallet, waistline and world that meat represents.  In fairness, this is made a bit easier because Brixton farmers' market doesn't have what I regard as a stellar meat stall, so I'm safe enough.  When nobody has big hunks of ham hock or pork shoulder sitting out in pride of place on their stall, it's easy enough not to have made carnitas for dinner again.


The squashes were great when I showed up at the market a week or two ago and I bought a huge kabocha with a lot of enthusiasm and no plan at all.  Some of it became soup (some of which is still in the bottom of the freezer), and more became curry, and quite a lot became these gnocchi.  Squash goes a long way between two hungry squash eaters.

And I bought cobnuts, despite the fact I didn't own a nut cracker.  I shot a few of them across the room before I hit on the teatowel/rolling pin combo, and since then they've shown up in piecrust and pesto and a heap of other things...and Tom bought me a nutcracker, after nut shrapnel punctuated his work-related Skype call from across the room.


I've never been that hot at gnocchi - they always fall apart or come out gummy or both.  I know you need to keep the amount of flour down to minimise the chew, but you do need some to keep them together and so on.  I think I hit on the answer this time: a good firm fleshed pumpkin.  The ordinary butternuts are too wet.  If they're what you have to use, chop then roast, rather than steam, to maximise the amount of water you drive off.

Somehow these became a speedy we've-been-wandering-around-town-all-day dinner.  They're quicker than you think, really.  All the time is in the prepping and steaming of the veg and the rest is easy.


Pumpkin gnocchi

This recipe makes enough for four, but they freeze really well if you lay them out on a tray lined with baking parchment in your freezer overnight and transfer them to a freezer bag when you next need the tray or the space in the freezer.  You can cook them straight from frozen, too - they take one whole minute longer...that's all.  Instant dinner!

Ingredients

250g potatoes (I used a particular variety known as 'white'. Yeah. High science.  Cheap supermarket baking potatoes, chosen for their ease of peeling. They worked great.) 

300g pumpkin (this was about a quarter of the big kabocha I had. I'm not sure sure specific amounts are really important here.)

The method I was vaguely following (this one from the Independent) told me I needed 160g plain flour.  I didn't, I needed less, and then felt I needed less even than I'd used.  As I said above, you need to err on the side of less, but you'll need to be the judge of your own dough.

A good pinch of salt

Method

First, peel, cube and weigh out the veg, then steam until fork tender (about 20 minutes for half inch cubes of potato and less for the squash).

Make the dressing at this point, so that you can heat it up when the gnocchi are boiling.

Let the veg steam dry and cool for a few minutes before mashing or passing it all together through a potato ricer (which is a thing which looks like a giant garlic press and I only own because I inherited it from my grandmother...the average kitchen shop will have one!).  Add a pinch of salt and around 80g of plain flour.  Mix together - it should form a very soft dough.  You're looking I think for something which holds together and which can, with the aid of flour, be persuaded not to stick to too many things.  I suspect you'll need around 120g of flour in total, but start lower and work up.

When you think it's reached a good consistency, divide the dough into four portions and, on a floured surface and with well floured hands, roll each one into a rope around a half inch thick.

Gently reheat the pan with the dressing, and set a big wide pan of water to boil.

I used a bench knife to slice the ropes into little sweetie-type cushions, and then poked them a bit until they were all about the same thickness.  Drop as many as will fit in a single layer into your pan.

Gnocchi are magic, and sink to the bottom until they're cooked, and then bob up to be fished out by you with your slotted spoon.

Transfer your little dumplings to the hot butter sauce (careful, spitty), and keep cooking until all are in the sauce.  Carefully turn them over to coat them, and serve on warm plates with parmesan grated over.


Cobnut butter dressing with rosemary


(This is enough for a half recipe of gnocchi)

Ingredients

I used a double handful of unshelled fresh cobnuts...I forgot to weigh them.  Bad Hazel.  I suspect 100g of shelled hazelnuts would be more than enough.

A sprig of rosemary (thyme would similarly have been lovely, but neighbours don't leave thyme bushes invitingly hanging over their garden walls for casual passersby to harvest the odd needle from...)

A pinch of chilli flakes (optional)

100g of very best salted butter
1 clove garlic, thinly sliced

Salt and freshly ground black pepper

Method

Shell the nuts if required, using a more efficient method than a rolling pin and a tea towel, and chop them coarsely.

Heat the butter in a big frying pan and when hot add the nuts and rosemary.  Cook gently until the nuts begin to colour, then remove the rosemary and stir in the chilli flakes and garlic.  Cook for 30 seconds more, until you can smell the garlic.  Remove from the heat and grind over plenty of black pepper and a small pinch of salt.

Keep to one side until the gnocchi are ready.

Thursday, 4 October 2012

Cinnamon whey bread buns.

There are days when you never finish anything.  There are days when you barely start anything without getting distracted.  There are days when you find you forgot to do one important thing and have given your time to fifteen pointless ones. There are days when it gets to five pm and you realise with horror that you have achieved nothing, but nothing, and rush to cram some work into the last hour of the day and end up staying on just so you can feel like you accomplished something, and still leave hours later knowing you haven't.


For those days, there is baking.  You can come home and break out the emergency butter and emergency sugar, and weigh and mix and taste and cook, and at the end you have something to show for it.  It might be late, but who cares? You have buns - and tomorrow you can take them into the office and people will say nice things and it will be another day.

Yeast dough isn't usually for evening baking, and this whey bread isn't really for making cinnamon buns, but they came together quick enough and with hot coffee made for the perfect breakfast.


I used Dan Lepard's sweet whey bread recipe from The Handmade Loaf, which begins with the instructions for how to make fresh cheese using rennet, which I never have in.  I have made a paneer a few times with lemon juice or yoghurt, though, and freeze the whey to make this slightly enriched bread.  He makes it into a slightly sweet soft white sandwich bread, good for breakfast toasting and similar.  It's like a less rich challah, to my mind - with butter and milk but no eggs.  Tom and I have made it a few times and cut the honey somewhat to make it better for savoury uses.  Here I kept the honey at the original levels to keep the sweetness.

I haven't tried making this with ordinary milk.  I suspect you could sub 150ml milk, simmered for a minute and mixed with 150ml cold water.  The simmering kills enzymes and changes proteins and similar, and mixing it with cold water will  both drop the temperature and give the liquid a texture closer to whey.  Haven't tried it though.  I usually use this technique for making paneer - it's very quick, and the paneer itself is delicious in Indian recipes or, if you don't press it, as a soft cheese to eat with berries and the like instead of yoghurt.

The filling is a standard one for Tom and I - 75g salted butter; 75g dark brown sugar; 15g powdered cinnamon.  Soften the butter (but don't melt it totally) and mix the other two ingredients into it.


After the dough has risen twice and is ready for its final shaped rise, on a floured surface roll it and push it out into an oblong roughly 18 inches by 36 and spread the filling all over it.  Roll it up tightly and slice it into 2 inch rolls.  Pack them into a baking tin lined with paper, close but not quite touching.  I used a 9 inch square cake tin for the 'presentation' buns, and put the mucky off cuts into a round sponge tin.


Preheat the oven while the buns do their final 45 minute rise (now they'll be butting up against one another), then bake according to Dan's instructions, checking ten minutes before the end (buns bake quicker than loaves) and switching the tins around a couple of times during baking.  They should be well risen and golden brown.


While the buns bake, make a quick glaze by heating together the juice of one lemon with 30g of caster sugar.  Boil it for a few minutes until it begins to get syrupy (the bubbles begin to get larger).  As soon as the buns come out brush this all over their surface.


I felt better.

Sunday, 5 August 2012

Pistachio petit-four cake.

I have had a fascination with this cake for some considerable number of months.  I've been wanting to make it and wanting to make it and wanting to make for AGES.  I very much love Deb's Smitten Kitchen  blog - so much so that I pre-ordered her cookbook the day it came out and I'm waiting with bated breath for it to show up.  In the meantime, I'm baking my way through the back numbers - which brought me here.


I was explaining the cake to Will - while we were eating enormous steaks, now I think about it - and bemoaning the fact that it's hard to make for work and anyway was enough of a spectacle that it really needed an event suitable for it.  Whereupon Will invited me to his birthday bash, which involves approaching 20 people in his parents' beautiful house, barbecuing, eating and drinking...  Also plenty of chasing about with two labradoodles, one of whom was clearly designed to be in a cartoon, trying to make friends with the horses and biting nails over the Olympics.  Brilliant.


The cake itself is remarkably easy to make.  That's sort of the thing about baking - you do one step after the other, just like the recipe says, and it all comes right in the end.  You do have to measure, and it is worth doing the little things that seem fussy, like weighing your batter into the tins to make sure they're the same thickness or browning the nuts before you grind them...and when you do that, it all works.  I only had 2 cake pans for a 3 layer cake, so I did a lot of weighing out of ingredients and dividing them so that I could bake in stages.


Producing the cake was overkill.  Totally.  It was enormously excessive and unnecessary, and went down brilliantly.  I will do it again.

Saturday, 28 July 2012

Guacamole.

So normally making guacamole is very simple for me: I put an avocado into one of Tom's hands and a knife in the other, and say something like; 'We're having chill for dinner!' and guacamole happens.  I genuinely didn't know how, until, deserted, I had to figure out how to make it for myself.

Here are most of the ingredients.  Typically, I didn't pull one key element out of the refrigerator but we can have that as a surprise later.


NB that piece of chilli is frozen - they come in great big bags, especially if you buy them at the Indian grocers, and nobody can finish them that fast.  I freeze them and then cut lumps off as required - they defrost enough to be easily to cut in about 2 minutes.

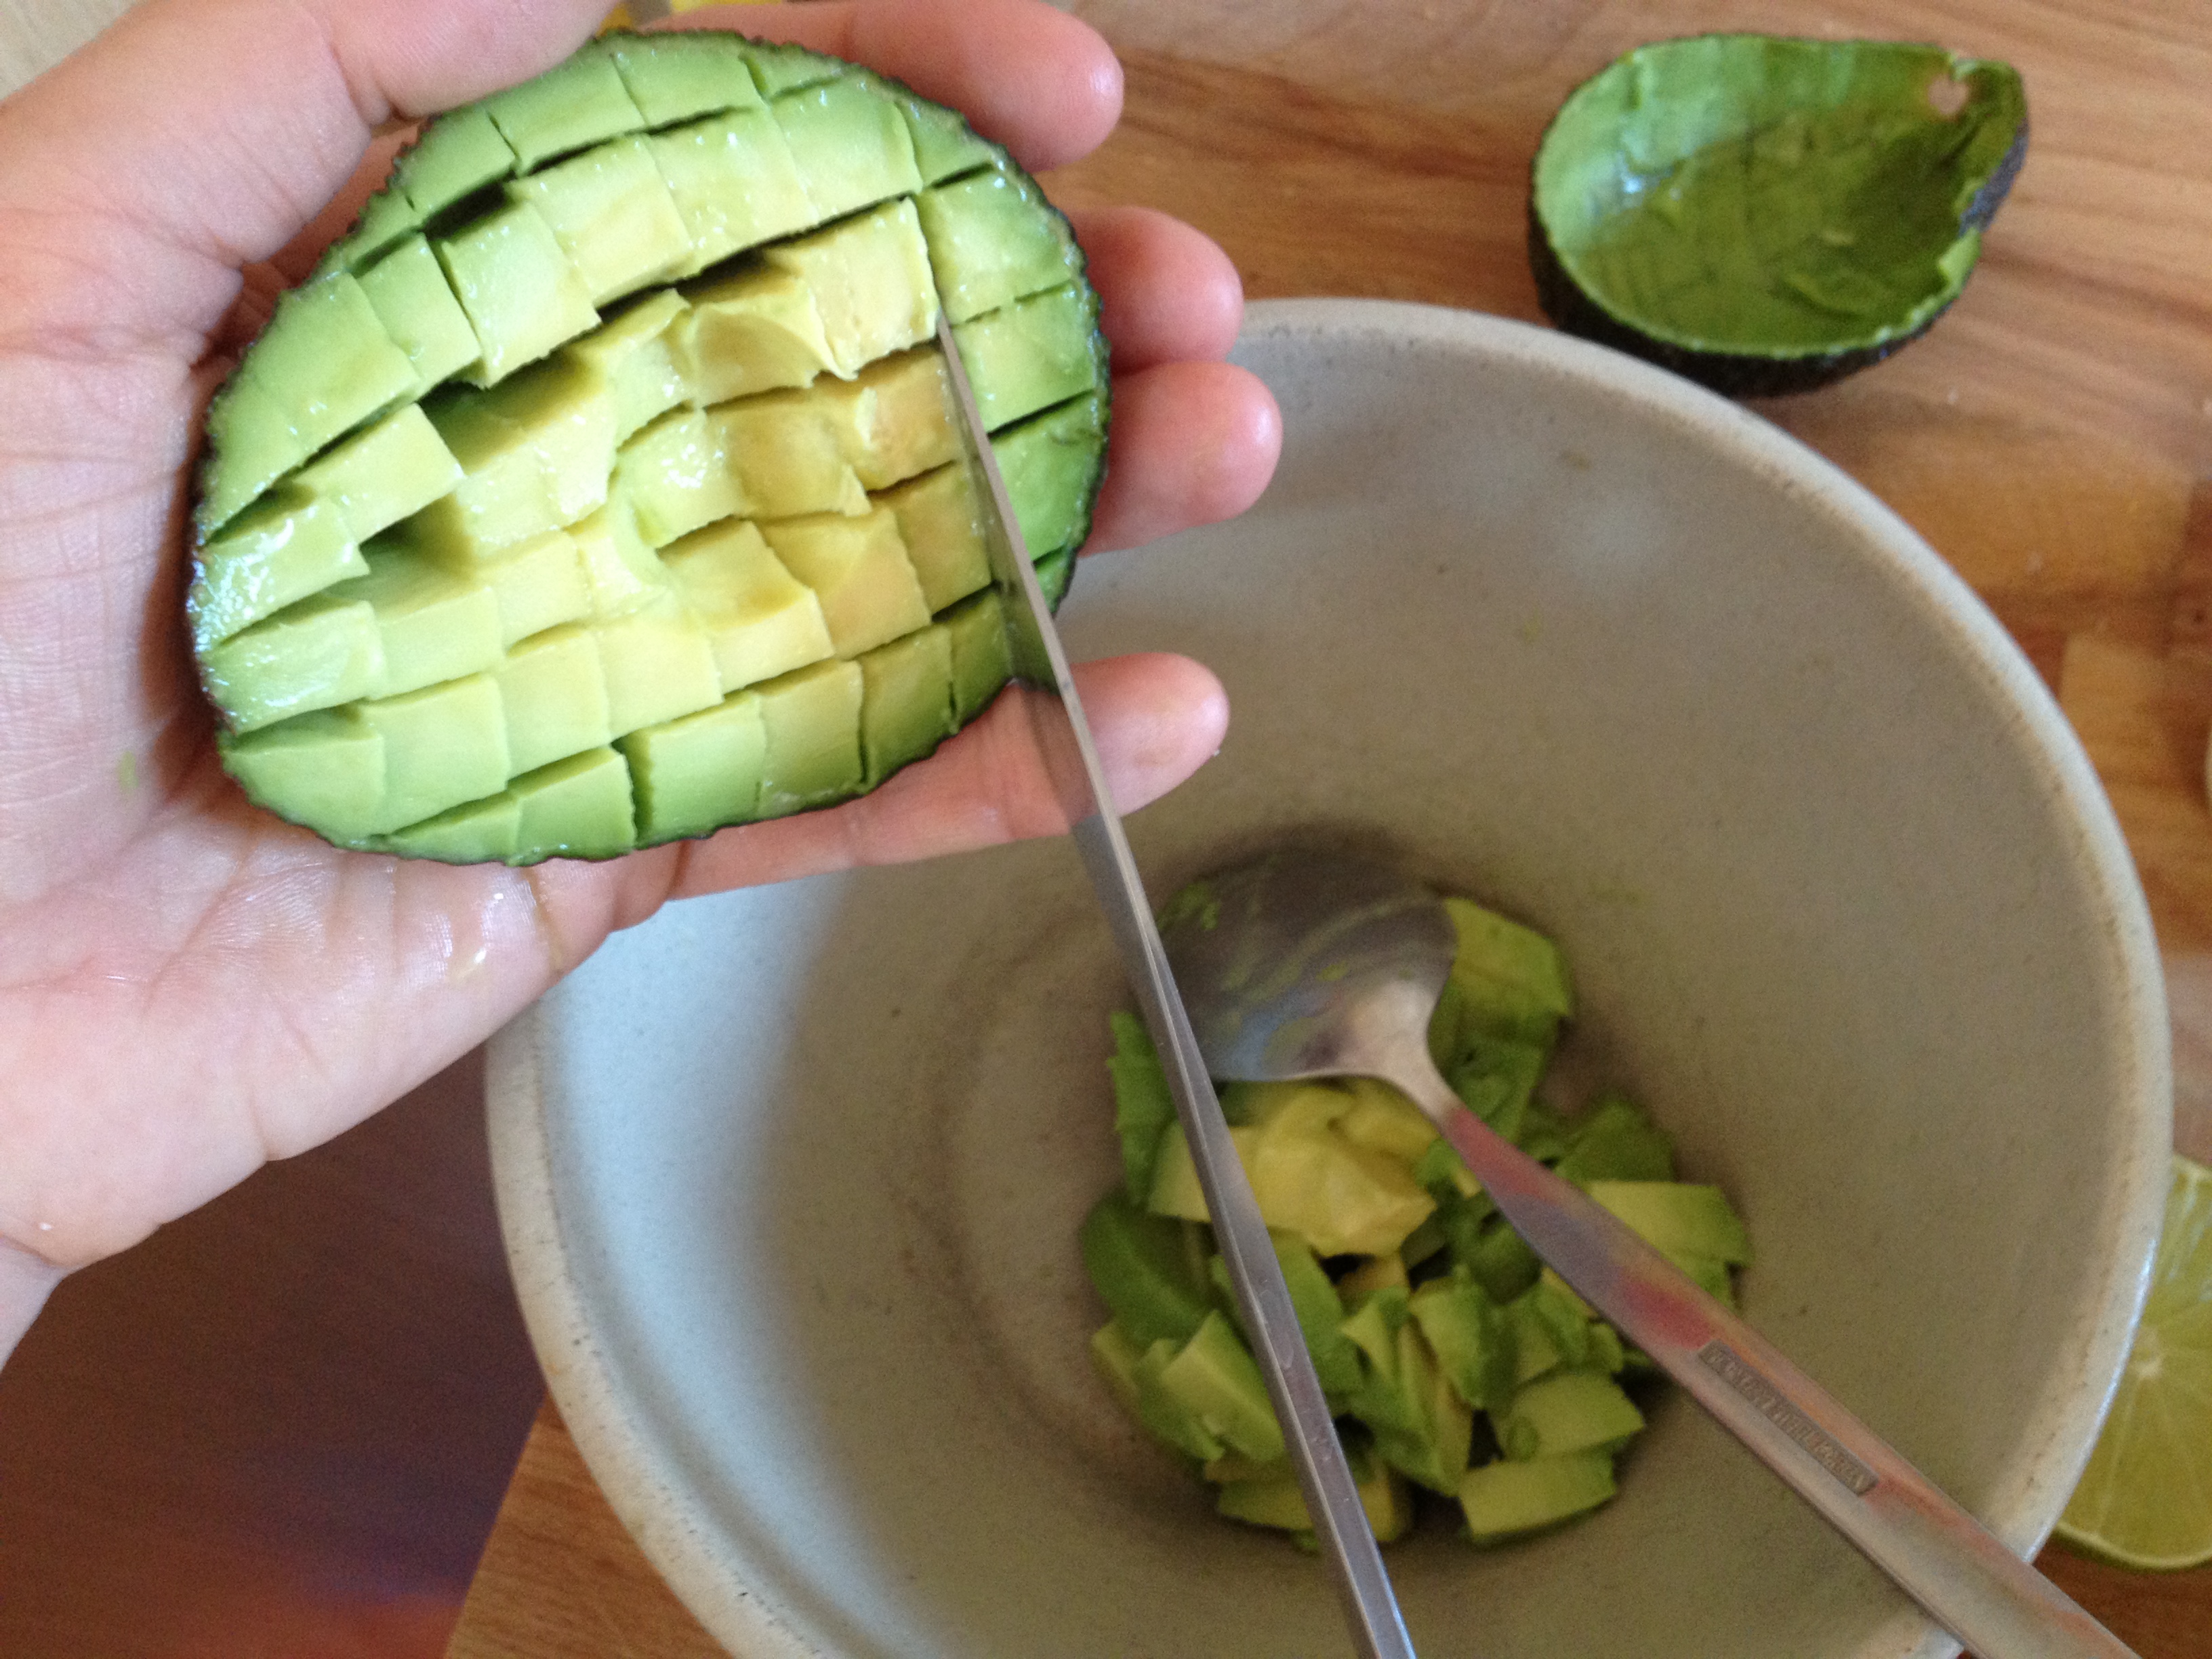
First task is avocado stoning, where you halve the beast, smack a knife into the stone (carefully avoiding cutting off own hand at wrist, or any wayward fingers) and then turn the knife like a clock hand to release the stone.  This works like a dream, though I sometimes find getting the soapy stone off the knife is a bit of an adventure.


Using a butter knife, dice the avocado flesh and then remove it to a bowl with a spoon.  Voila:

Juice your half lime and sprinkle over some salt. Leave to macerate for 20 minutes or so, while you mince 1 large clove of garlic and about an inch of red chilli.

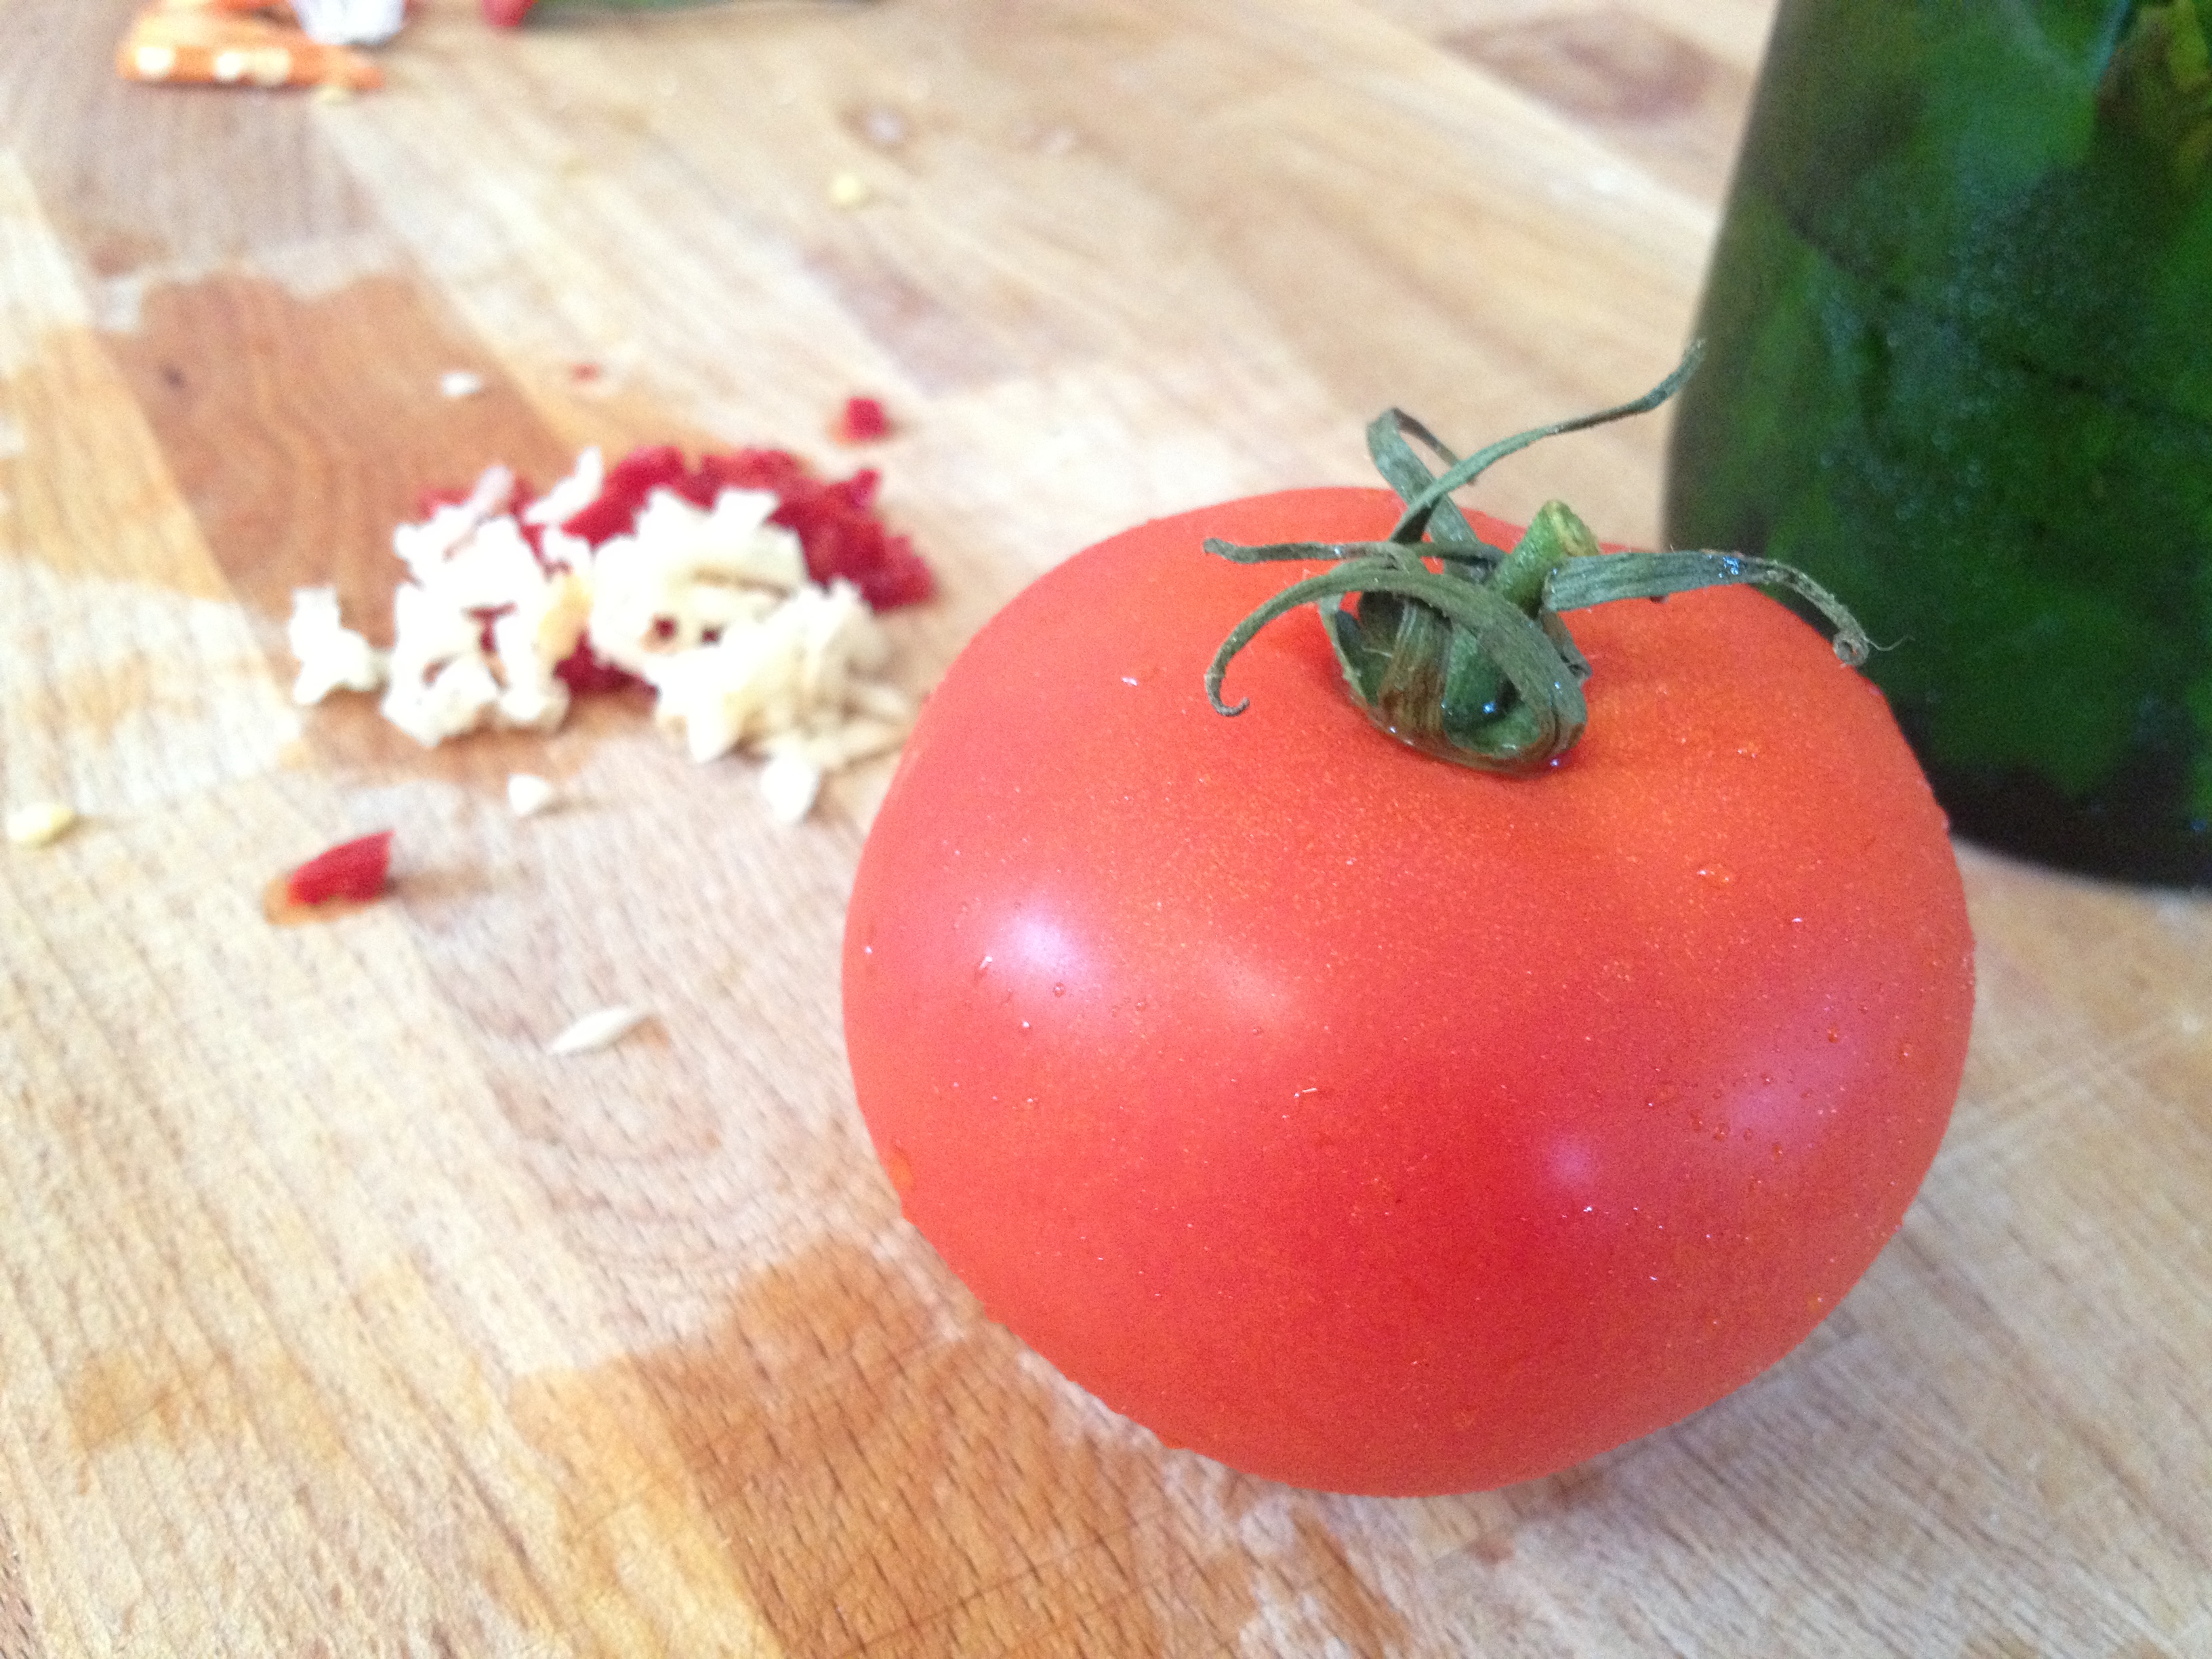
(sneak tomato portrait) 

Cut a medium-large tomato in half and remove the seeds (I usually throw them in the main dish, if it's a saucy one), and then cut the flesh into large dice.  Take the leaves off around 6 big sprigs of coriander/cilantro and chop coarsely.


Pour off any lime juice which hasn't been absorbed into the avocado and mash it a bit with a fork or a spoon, depending on how ripe your avocado was.  Stir in the chilli, garlic and tomato.  Add the coriander/cilantro just before you serve it, and taste to see if it needs more salt.  With chips, chilli, quesadillas, tamales, bread...anything, really.  It doesn't keep so you really should finish it.  Yes.  That's why you should finish it.  Ahem.

Technically, 1 ordinary avocado could probably be said to yield 2 servings.  This has never really been noticeable for me.


Making Guac, the Tom Way

Take one soft avocado.  Cut around the stone and separate the halves.  Smack a large knife into the stone (miss own arm and fingers) and give a slight turn to remove the stone.  Use the butter knife to dice the flesh and then spoon it into a bowl.  Add the juice of half a lime and around half a teaspoon of salt.  Leave to macerate for around 20 minutes.

In the meantime, finely dice half a deseeded chilli and a clove of garlic.  Remove the seeds from half a medium-large tomato and dice the flesh quite chunkily; a finely sliced spring onion is optional.  Coarsely chop the leaves from 6 or so sprigs of coriander/cilantro.

Drain any excess lime juice from the avocado and mash it coarsely.  Stir in everything else.  Eat all at once, with gusto, chips or Mexican dishes.


Er.  This was the day it got to bedtime and I found I'd accidentally made fairy cakes.  True story.  These things happen to me...

Monday, 23 July 2012

Success! (with pitta)

I had a marvellous weekend.  Stuff went well.  I cleaned, to start with.  Sometimes that's a mood that takes me.  The weather was beautiful.  A friend came around for dinner.  We went to Ikea, and even that was fun.  I managed to scrounge a lift to the supermarket and didn't have to do my shopping online.  I learned to play a new piece of music on the concertina AND figured it out sort of on the guitar. 

We'll skate over the dental experiences of Friday and the fact that my lover is still 5,000 miles away - though the first of those was less bad than it could have been, and the second, well, he seems to be having fun and sends me a lot of photos.*

But Success with Pitta, on the third attempt, was my crowning glory.  I cheered when I saw the balloon in the oven.  The key is a blisteringly hot oven...

Pitta Bread
Adapted from The Bread Bible by Rose Levy Beranbaum

454g bread flour – I used a combination of flours, because I’m the kind of person who can get excited about that kind of thing, and went with 200g of strong white bread flour, 200g of 00 flour and 50g of spelt because I like how it tastes. Don’t use too much wholemeal, but otherwise any bread flour combination will be fine.
295g water at room temperature (using leftovers in the kettle is a good option, chlorine is bad)
12g salt (around 2tsp, err on the low side)
7g instant yeast (one of those little sachets)
27g olive oil (around 2tbsp)

Combine everything in a bowl into a sticky mass then cover the bowl with a plate and go away for half an hour. This lets the flour soak up the water properly, making it easier to work.

Kneading. This is a soft dough, it’s going to be sticky. Remove all jewellery, then scrape it out of the bowl into your hands. Proceed to stretch in your hands and then scrunch it back up and pull it in a different direction, keeping it in the air so it doesn’t stick to anything except your hands.

Keep going for 10 minutes. You’ll notice the dough changing in texture – you’ll be able to stretch it more before it starts to break. If you haven’t used any brown flour, you should be able to stretch the dough into a little windowpane without it breaking. Your arms will probably hurt a bit, but hey, got to get the workout in…

Using your third hand (or significant other, or just dealing with the fact you’re going to cover the bottle in dough), drop about a teaspoon of oil in the bottom of a bowl. It can be the first bowl, with bits still stuck to it, don’t look at me for extra washing up. Scrape the dough off your hands into one lump and put it on top of the oil, turning it to coat.

Cover the bowl again, and put the dough in the fridge for at least 4 hours, punching it down every half an hour or so. You can leave it there for up to 3 days.

An hour before you’re ready to bake, turn the oven on to its highest setting – if you’ve got the option of dual grill/oven, use that to get the temperature up as high as you can. Put a cast iron skillet in to preheat, too, or your very thickest baking sheet.

Half an hour before baking, take the dough out of the fridge and divide into 12 more or less equal Clementine sized balls. Start with the first ball formed, keeping the rest covered with a cloth. On a floured surface, roll each ball out as far as it will go (probably only about 10cm at this point) and re-cover to relax.

Go round again, and roll the first round of dough out to less than half a centimetre thick – they will be around 18cm in diameter. Keep flouring!

Check the oven temperature – it should be about as hot as it goes at this point. I Love My Oven Thermometer, and it read around 250 degrees C. Transferring your round of dough onto the hot surface without it getting all folded up is a bit of a skill, but I discovered the oven glove was a better tool than my hand because it was wider and flatter and had fewer things to catch on. The other oven glove was definitely involved in the handling of the hot pan. I only managed to burn my knee and was reasonably thrilled about that.

Slap the dough round onto the hot skillet, quickly close the oven and time 3 minutes. The bread should have puffed up like a balloon. Pick it out with tongs and move to a wire rack to cool; repeat with each round.

Stuff with Stuff. I made falafel, but halloumi and salad and pickled chillies is a bit of a fantasy for the remaining breads, which are in my freezer awaiting inspiration…


*Of VOODOO DONUTS, no less.

Saturday, 21 January 2012

Civilisation.

The British Museum is one of my all time favourite places. I find history fascinating, and am in awe of the ingenuity of our species throughout time. Vast palace without metal tools? Sorted, 2,500 years ago. Symmetrical, polished stone statues three times the height of a man made of a rock found many miles from where you want it? We've got this, 3,500 years ago. Beautiful polished axe heads made of hard and beautiful greenstone taking hundreds of hours to make? We did that, 5,000 years ago. And you can still see these thing. We made beautiful things, perfect things, way back before we had running water or cures for diseases or reliable long distance communication - at the same time women ground wheat for flour by hand, on their knees, for so many hours every day that it permanently damaged their skeletons. They would be breathtaking achievements today, but so much bigger then.

The mummies bother me - dead bodies on display like this - but that thought forces another: that's a person. What would he think of me, of this, of us? What would strike him most about today, if he got up and dug his eyes out of that canopic jar over there, untangled all his layers of bandages and wasn't too distracted by the fact somebody had pulled his brain out through his nose with a hook...?